3 Simple DIY room decors for TIhar
As the festive season is right around the corner, it’s always fun to take a break from our daily workload and make some time to craft and create fun DIY projects with our family, especially during these times of isolating ourselves from social interactions.
On the verge of getting into that Tihar mood, here are three easy and simple DIY room decorations to revamp your spaces!
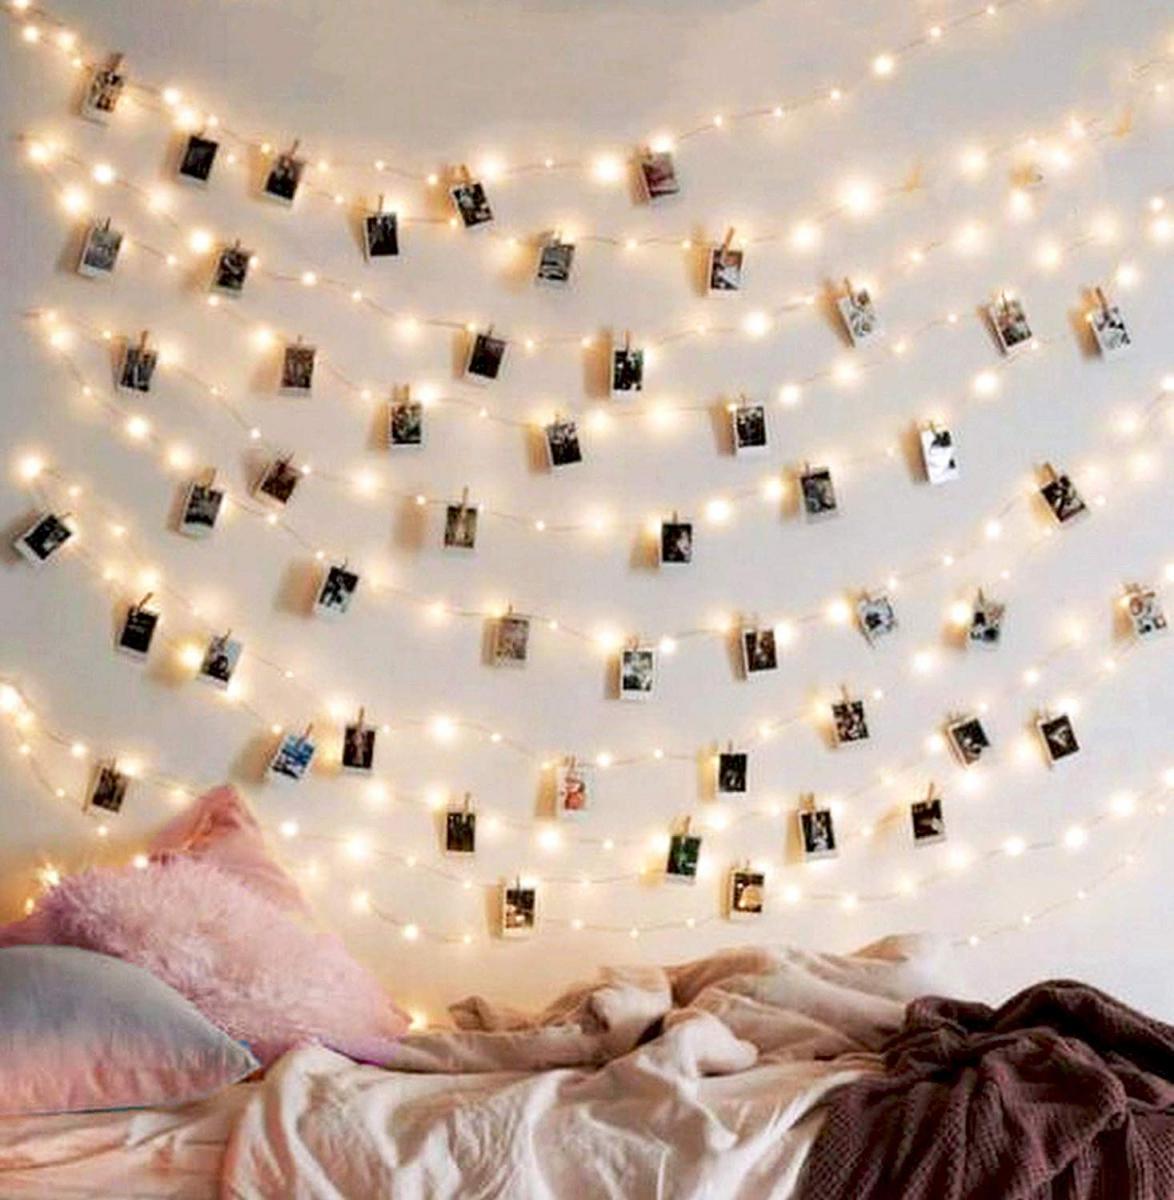
1.Fairy light photo wall
Nothing defines Tihar better than fairy lights themselves. While we’re too busy lighting up our homes from the outsides, there’s no harm in bringing the vibes inside too. Fun fact, decorating indoor rooms with fairy lights has been a popularized tradition for decades now. Its a simple and easy way to open up your space and reflect the essence of the festive season on your quarantined walls.
All you need is a long strand of fairy lights, some memorable pictures with your family and friends, and a handful of clothespins. Choose a blank wall, and try to align your strand of fairy lights over the wall, from top to bottom, in a zigzag-parallel shape, in a way that covers your entire wall or the designated portion of your choice. You can use simple thick clear crafts tape to stick it to the wall on every corner of the zigzag shape to avoid it from falling. Then you have to print out or collect the pictures you want to hang and just pin them on the wire of the light strand using the clothespin. There you go, your cozy fairy light photo wall is done in less than 10 minutes!
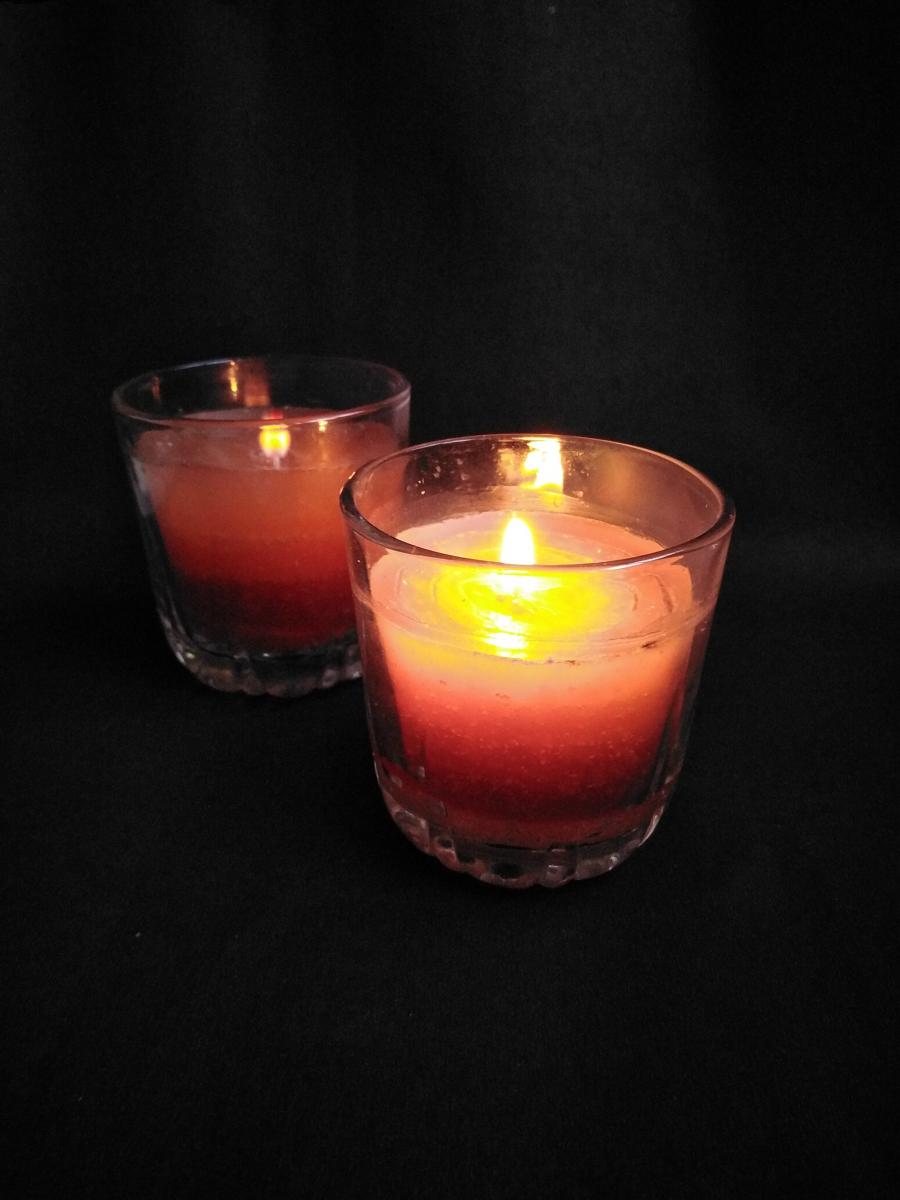
2.Layered Candles
Candles, quite literally, carry the entire spirit of the festive lights during Tihar and these days are never complete without small candles lighting up every hidden corner of our homes. Lucky for us, candles can be the prettiest of room decors too. You can even Diy your happy candles as a fun activity to do with your family at home!
We will need a couple of tiny water glasses (or just any water glass) that you barely use from the back of your kitchen cabinet, a handful of candlewick, white or different colored candles, and crayons (optional). First, cut out one candle to a couple of pieces and put it in a small steel pan. If you don’t have candles of your preferred colors, cut out your white candle, and also cut a crayon of your preferred color and put the candle, crayon mixture in a steel pan to heat it. As your candle wax melts with the heat, on the side, place the candle wick vertically in the center of the glass. A simple hack here is, tie up one end of the wick to a toothpick, or any small stick that is a little longer than the diameter of the opening of your glass. Place the stick over the glass opening, in a way that the other end of the candlewick touches the bottom-center of the glass. Now that the wax has melted, carefully pour it on the glass, making sure the candlewick doesn’t misplace. You only need to fill a little bit of the glass for now. Let the wax harden, and repeat the process of melting another colored candle, and pour a little of that too. Our goal here is to create a layered effect of different color combinations of your choice. You can even tilt your glass a little while you're pouring, in different angles for different colors to create more of a fun diagonal effect to it. As you reach the top and finish your final layer of pouring, let it dry, untie the stick, and voila, you have your own beautiful colored DIY candle!
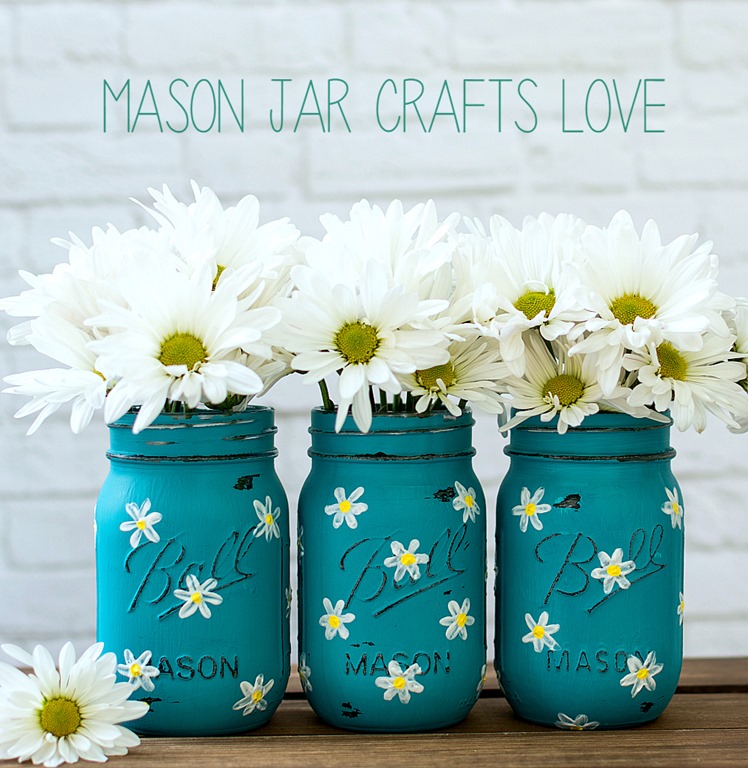
3.Painted Jars
Everyone has an unused collection of recycled glass jars and milkshake glass bottles hidden somewhere inside the kitchen pantry. It’s about time we make something useful out of it! Jars can be a perfect option for organizing and presenting your smoke sticks, flowers, and a bunch of other things neatly and appealingly, that matches the color scheme of your house or the vibe you want to build. It’s the little things and tiny details that reflect and bring out your essence and creativity in your space. This can again be another family bonding activity to paint together and take in the spirit of the festive season.
All you will need is the glass jars of course and some acrylic paints of your preferred colors. First properly clean and wipe your jars with no stickers and drops of water left. Be as creative as you can and gently paint your imaginations or inspired designs over the jars or bottles using the acrylic paints and paintbrushes. Lighter colors may need a couple of coats of paint, depending on the quality of the paint itself. There you go, the easiest way to ramp up your home with a little bit of work, a handful of paints, and a lot of creativity.